
- In Dentiray Capture, go to View Images.
- Search for the patient by entering one of the search criteria PATIENT ID, FN, or LN then selecting “Query For Images”. It will bring up all patients within the search parameter. For example, we will be using patient named Willis, Bruce.
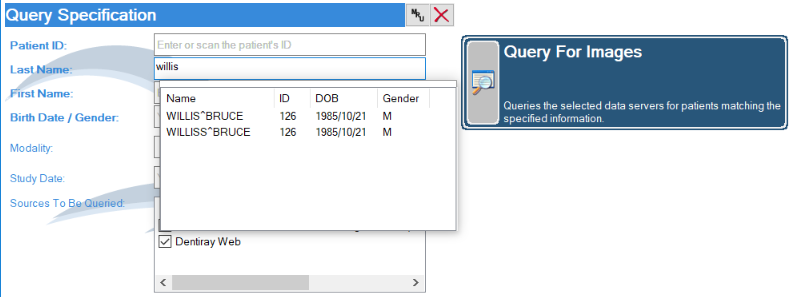
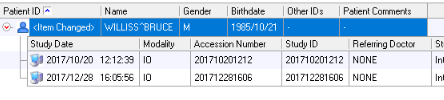
- Once you’ve located the x-rays highlight the patient's name:

- Then selecting the Red Check icon
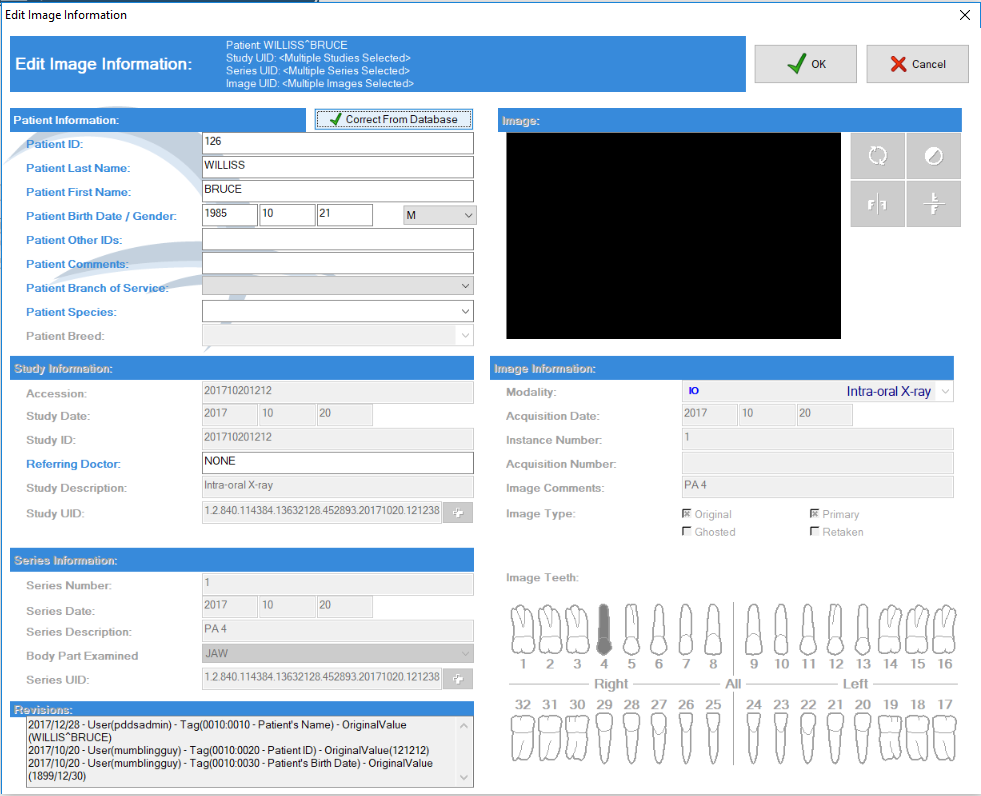
- Then the Dentiray Capture edit screen will appear. Here you will be able to change the Patient Information or Study Information. If necessary, you can change the Patient ID, Names, Birth Date, Gender and so on. Notice below that the patients last named is spelled wrong in Dentiray Capture compared to Denticon’s. Go ahead and make the correct changes. In this case we just need to remove the extra “s” in the patients LN. Then select the box “OK”.
- After pressing “OK” it will take you back to the Query For Image screen, and the highlighted area will now say “Item Changed”.
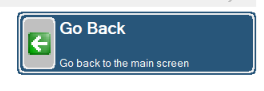
- Press the “Go Back” button in the lower righthand corner.
- You will notice that the Forwarding Images notification on the bottom right of the screen will be "Forwarding". Don't close Dentiray Capture until you see "Forwarding Images: Idle" on the bottom right.